


Microsoft and IBM open-source MS-DOS 4.00 from 1986
It has taken 38 years, but the source code of MS-DOS version 4.00 has been made available by Microsoft and IB...
"*" indicates required fields
It has taken 38 years, but the source code of MS-DOS version 4.00 has been made available by Microsoft and IB...

Belgian investor Fortino Capital supports CERRIX in its ambition to help companies with Governance, Risk, and...

Amazon's top executives allegedly deleted Signal messages between 2019 and 2022 while a competition investiga...

Security company Darktrace has agreed to a takeover by investment company Thoma Bravo. The deal should be com...

The company that Farquhar founded with Mike Cannon-Brookes 23 years ago will soon have to do without his day-...

Microsoft and Google parent company Alphabet presented their quarterly figures recently. The results are posi...

Lenovo is launching the ThinkSystem SR685a V3 8GPU server, which the company developed with chip manufacturer...

Chromebook users can now use Microsoft 365 apps on their devices without having to open the browser without a...

According to the security watchdogs of the United Kingdom, Canada and Australia, unknown state hackers have b...
With the new Large Language Model Arctic, Snowflake can help companies generate code and SQL. In this way,...

Update 25/04/2024 - IBM has announced it is buying HashiCorp for $6.4 billion, equivalent to about €5.97 bi...
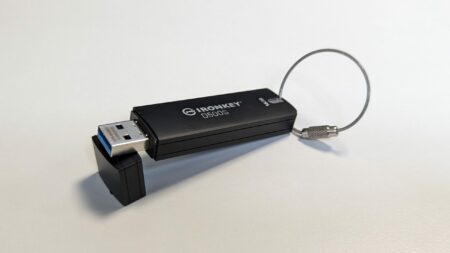
With the Ironkey D500S, Kingston provides important data with strong, validated protection. The uncluttered s...

What does a bug bounty program look like, and what does it deliver? We talk to Visma about its usefulness for...

Software application development is benefiting from AI-assisted testing at the ‘back end’ of enterprise I...

A week after it acquired Gem Security, Wiz is already aiming for its next target. Lacework, which once seemed...
Meta has announced Llama 3, the successor to the highly successful open-source model Llama 2. Along with the ...

Intel has just announced that ASML's High-NA EUV machine has finished construction. For the first time, the s...

With "Operation PhishOFF," phishing gang LabHost appears to have exited the cybercrime stage. This criminal g...
According to Cisco, what we need is not so much new security products, but a completely new architecture to b...

In the first financial quarter, ServiceNow posted revenue of $2.6 billion, or about €2.4 billion. Exactl...

Atos likely needs more cash and additional debt reduction to stay afloat. The ailing French IT consultancy fi...

Nvidia is to acquire Israeli startup Run:ai for $700 million. With this acquisition, the GPU maker hopes to s...

Rubrik managed to sell its shares for a higher price than initially expected ahead of today's IPO. This will ...

One in three applications contains a major or critical vulnerability. Outdated software, failure to install u...

Canonical is releasing the latest LTS version of Ubuntu today. This release, version 24.04 (codenamed 'Noble ...

Pulumi is releasing new Day 2 functionalities for Pulumi Deployments, a product focused on infrastructure dep...